How to Finally Install TensorFlow 2 GPU on Windows 10 in 2021 | Towards Data Science
SPECIAL NOTE: The following instruction only works when you will install tensorflow directly in window, NOT through miniconda/anaconda; Tested and it doesn’t work if you install all following required software but run tensorflow through conda enviroment.
SOLUTION in mimiconda: Python 3.8: conda install tensorflow-gpu=2.3 tensorflow=2.3=mkl_py38h1fcfbd6_0 (running this solve problem on windows on 19/12/2021, tested and and worked, the reason we use Python 3.8 and Tensorflow 2.3 here is for CST2021 Python (support python 3.6-3.8) compability on Superlens server.)
I think Windows users, including me, have suffered enough. You are probably stumbling on this after trying hours or even days to make this work. So, as a kindness, I will just cut to the chase and show you the steps you need to install TensorFlow GPU on Windows 10 without giving the usual blog intro.
Step 1: Find out the TF version and its drivers.
The first, very important step is to go to this link and decide which TF version you want to install. Based on this, the CUDA driver versions and other software versions change.
As of writing this guide, TF 2.6.0 is the latest, and we will be installing that one.
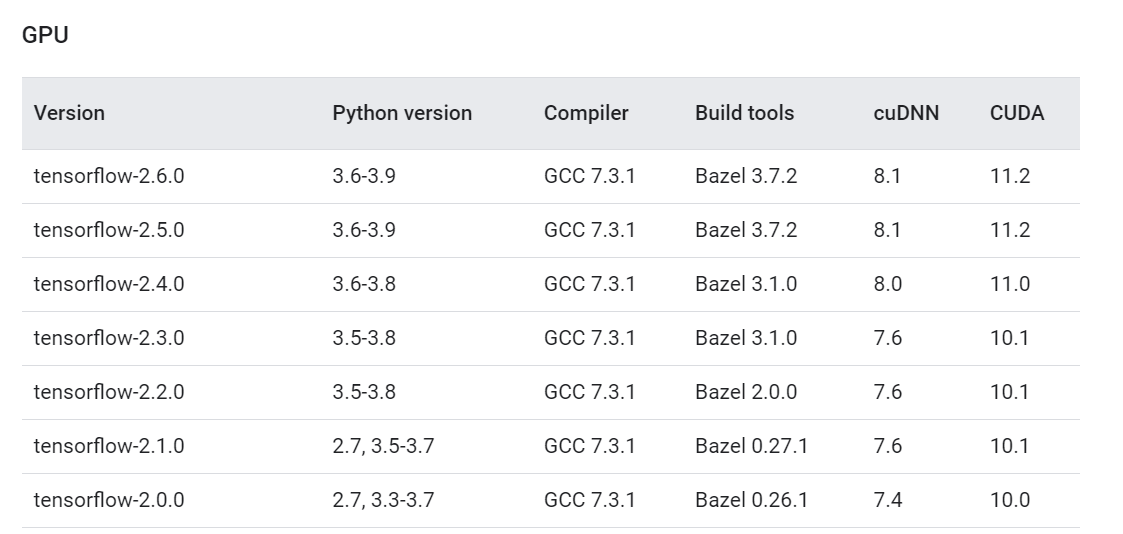
We are only interested in the TF version, cuDNN, and CUDA versions. We keep this tab open and move on to the next step.
Step 2: Install Microsoft Visual Studio
Next, we install Microsoft Visual Studio. Note that this one is different than Visual Studio Code, which is a lightweight IDE so many people love.
Go to this link and press download:

Run the downloaded executable and it will take a minute to download the requirements. Then, it will ask you to choose what workloads to install. We don’t want any, so just click install without workloads and click continue. After the installation is done, it will ask you to sign in but you don’t have to.
Step 3: Install the NVIDIA CUDA toolkit
NVIDIA CUDA toolkit contains the drivers for your NVIDIA GPU. Depending on your Windows, they may or may not be already installed. If installed, we should check their version and see if they are compatible with the TensorFlow version we want to install.
Go to your Settings on Windows and choose “Apps & Features”. Then, search for NVIDIA:
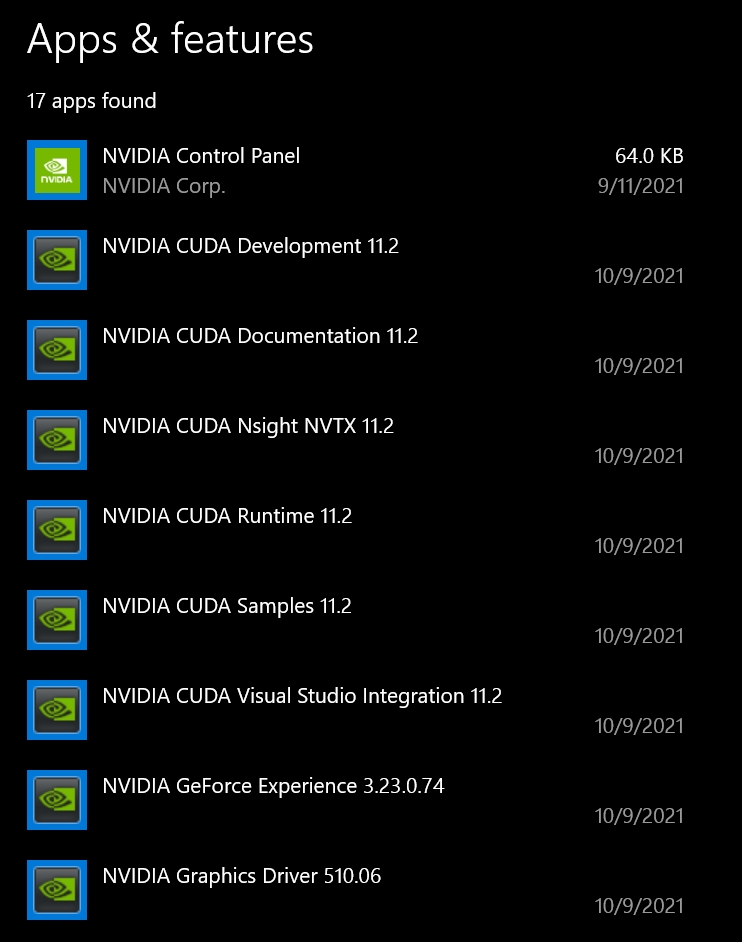
We want to install TF 2.6.0 which requires NVIDIA CUDA Toolkit version 11.2 (see the first link to double-check). If your drivers are any other version, delete all the ones that have “NVIDIA CUDA” in their title (leave the others). Then, go to Local Disk (C:) > Program Files > NVIDIA GPU Computing Toolkit > CUDA. There, you will see a folder with the CUDA version as a name. Delete that folder.
If you search for NVIDIA and no CUDA toolkit is found, go to this page. Here is what it looks like:
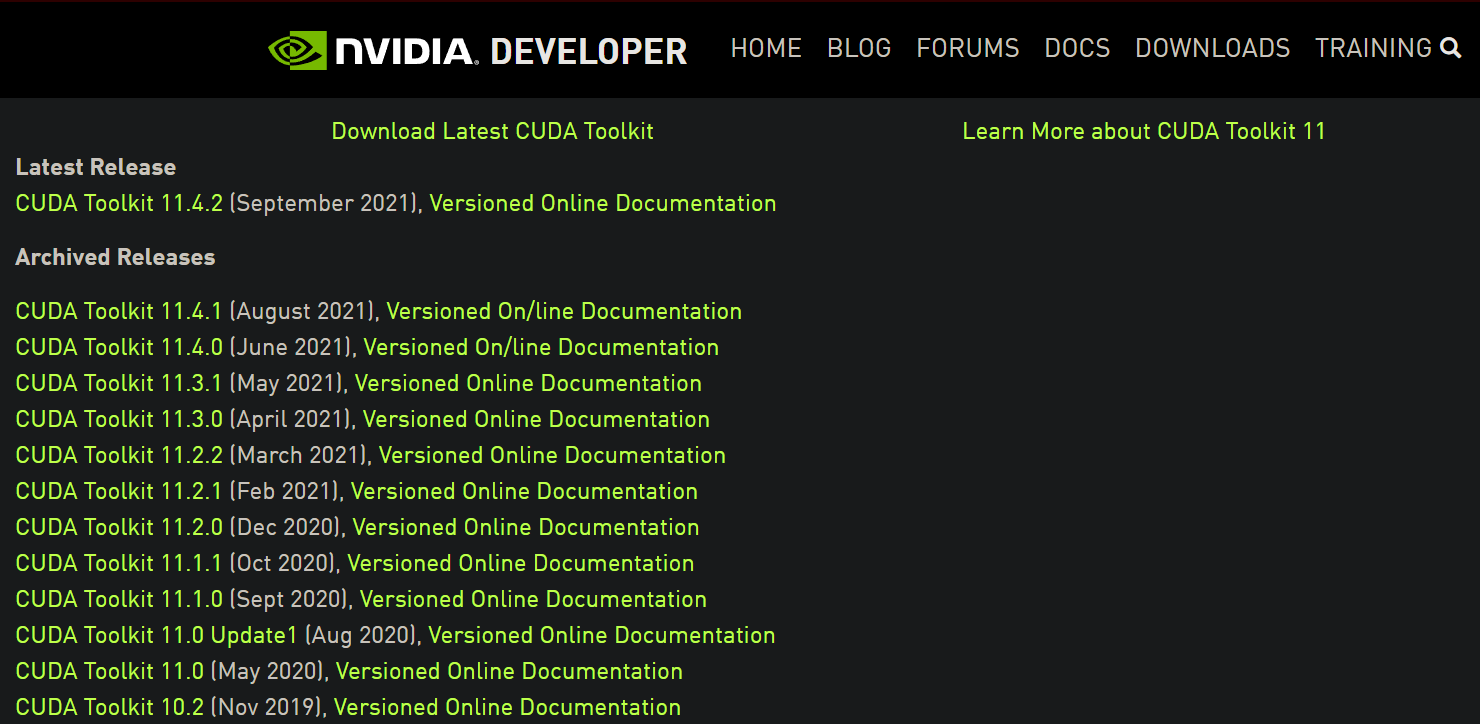
Here, we see three 11.2 versions, which are what we need (we got the version from the first TF version link I provided). Click on any of them and choose Windows 10, and download the network installer:
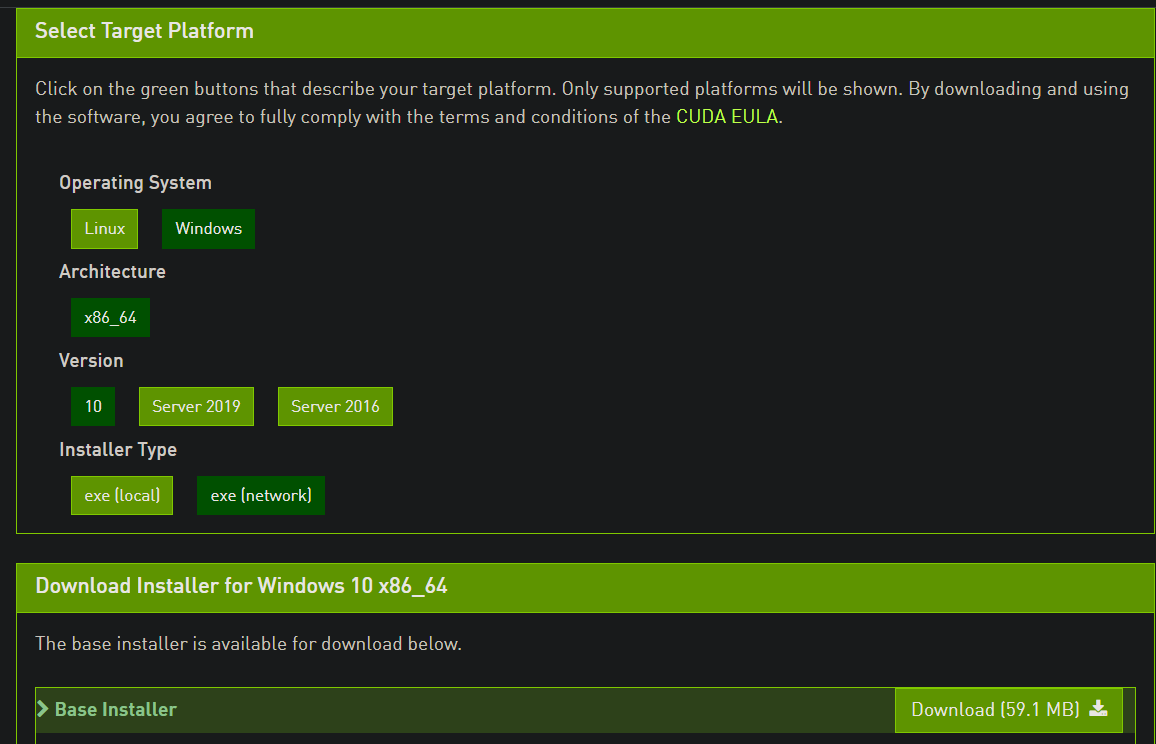
Follow the on-screen prompts and install the drivers with default parameters. Then, restart your computer and come back.
Step 4: Install cuDNN
For TensorFlow 2.6.0, cuDNN 8.1 is required. Go to this page and press download:
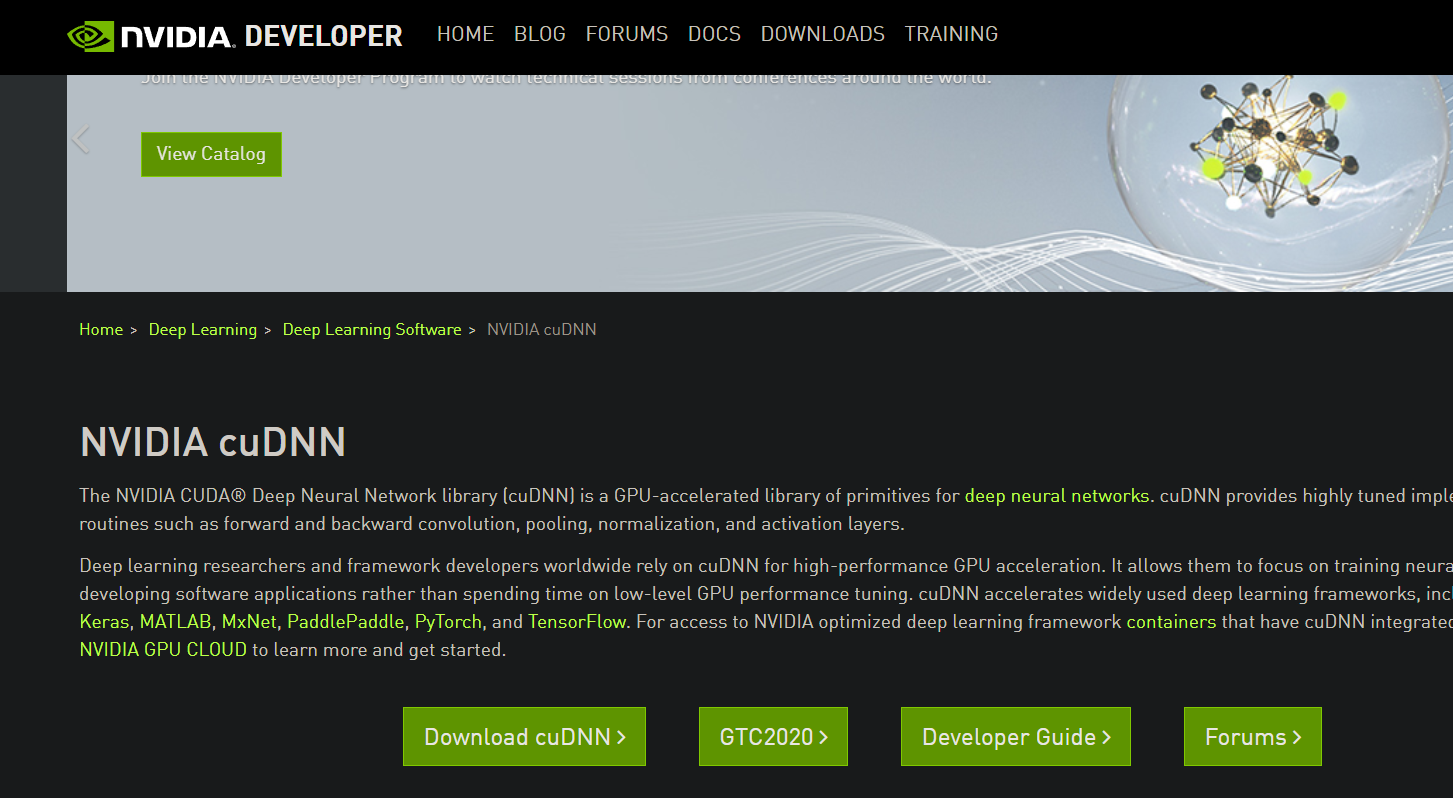
It will ask you for an NVIDIA Developer account:

If you don’t have an account already, click “Join now” and enter your email. Fill up the form — the standard stuff. Then, go back to the cuDNN download page:
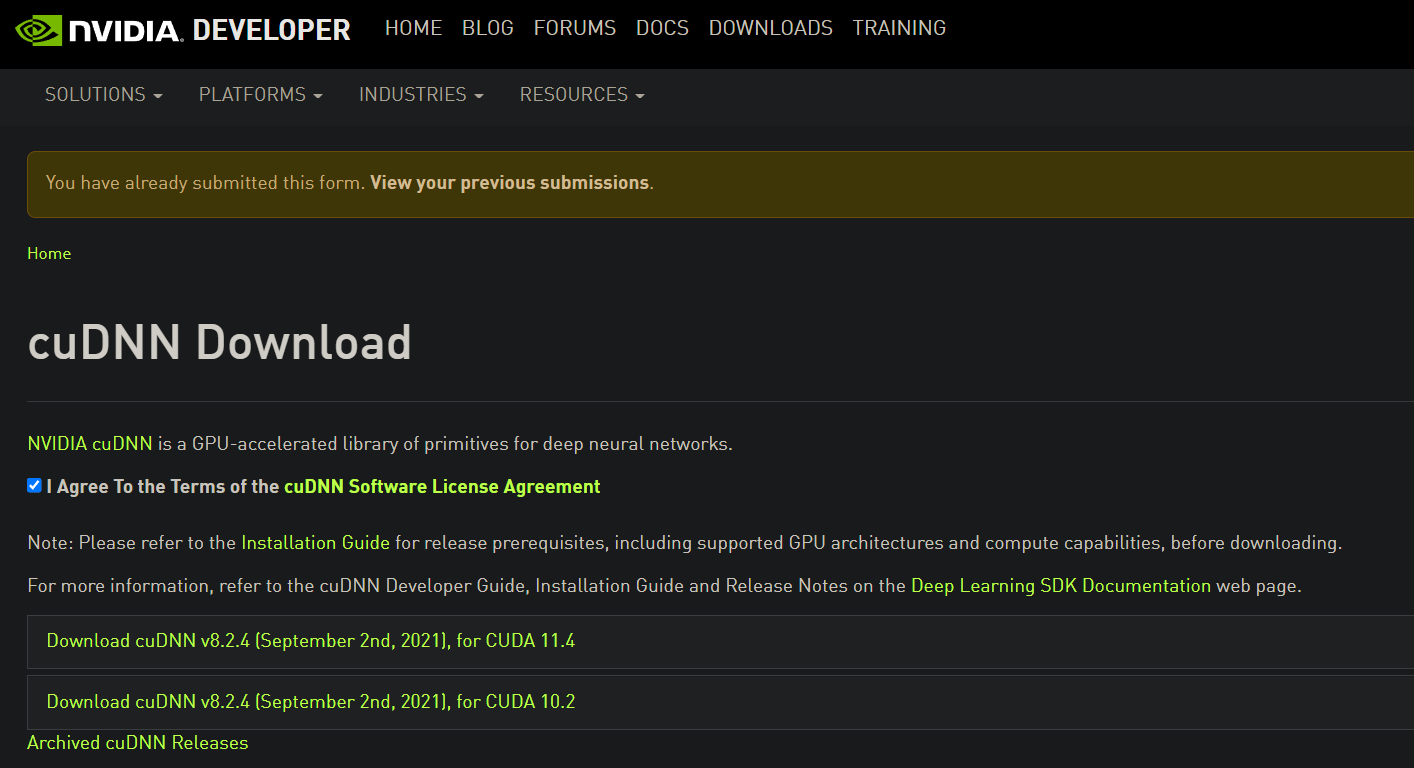
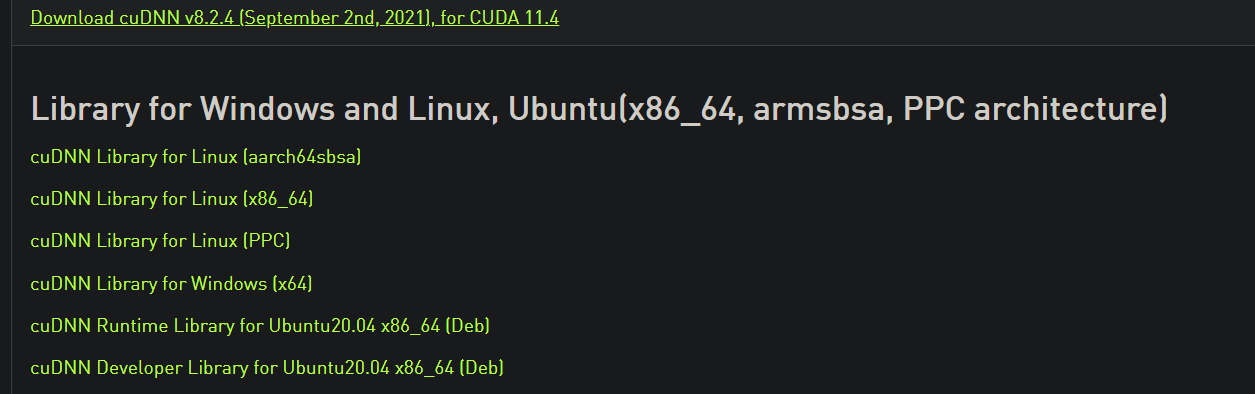
At the top, it will ask you to fill out a survey. Fill it out and you will be presented with the above page. Click on the first one since it is the one compatible with CUDA Toolkit v. 11.*. There, you will see a Windows version, which you should download.
Step 5: Extract the ZIP folder and copy core directories
Extract the downloaded ZIP folder:
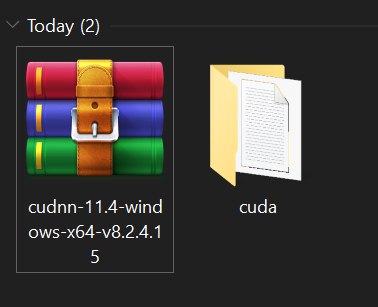
Open the cuda folder and copy the three folders at the top (bin, include, lib). Then, go to C:\Program Files\NVIDIA GPU Computing Toolkit\CUDA\v11.2 and paste them there.
Explorer tells you that these folders already exist, which you should press Replace the files in the destination. That’s it, we are done with the software requirements! Restart your computer once again.
Step 6: Add CUDA toolkit to PATH
Now, it is time to add a few folders to the environment variables. In the last destination, C:\Program Files\NVIDIA GPU Computing Toolkit\CUDA\v11.2, there is a bin and folder:

Open it and copy the file path. Then, press the “Start” (Windows) button and type “Environment variables”:
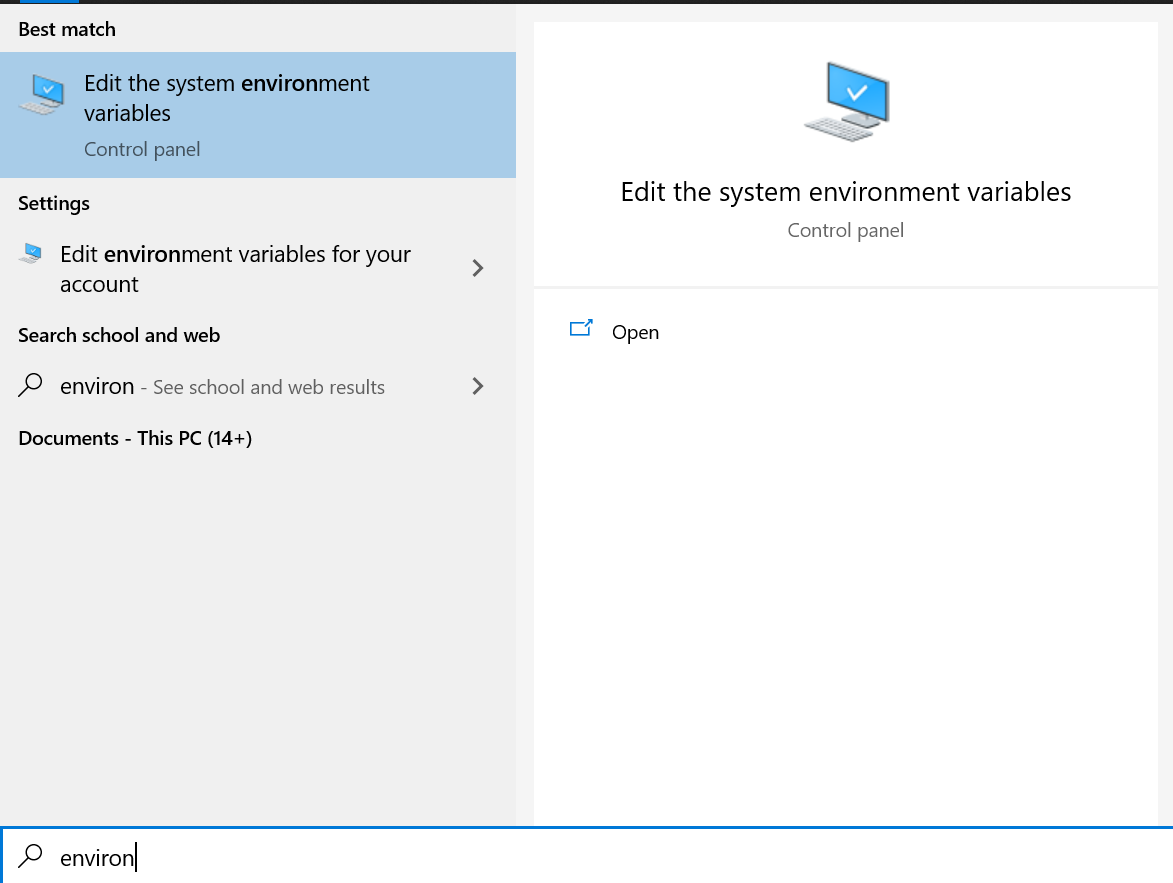
Open it and go to “Environment variables”. This will open this pop-up window:
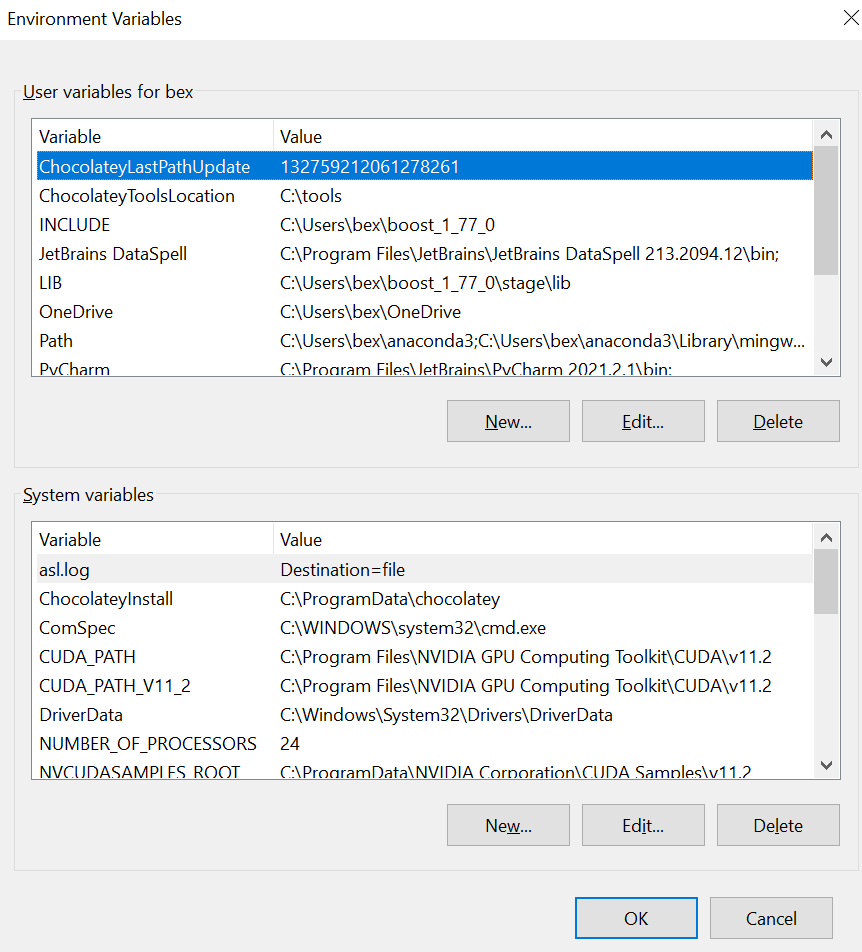
Choose the “Path” from the top and press edit. Press “New” and paste the copied link there.
Then, go back to the GPU toolkit folder and open the libnvvp folder:
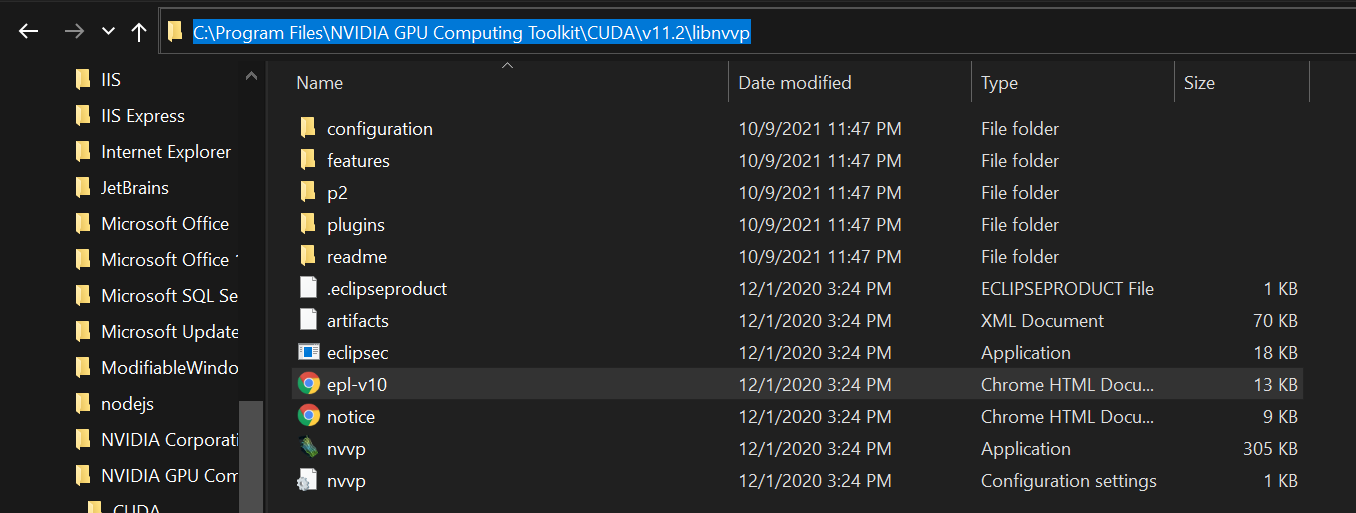
Copy its path and paste it to Environment variables just like you did with the bin folder. Then, close all pop-ups, saving the changes.
Step 7: Install TensorFlow inside a virtual environment with Jupyter Lab
Finally, we are ready to install TensorFlow. Create a virtual environment with your preferred package manager. I use conda, so I create a conda environment named tf with Python version 3.8.
conda create -n tf python==3.8
conda activate tf
pip install --upgrade tensorflow
pip install jupyterlab ipykernel
It is important that both TensorFlow and JupyterLab are installed with either pip or conda. You will get a ModelNotFoundError in JupyterLab if they are installed from different channels.
Next, we should add the conda environment to Jupyterlab so that it is listed as a valid kernel when we launch a session:
ipython kernel install --user --name=<name of the kernel, `tf` for our case>
If you launch JupyterLab, you should be able to see the environment as a kernel. Create a new notebook and run this snippet to check if TF can detect your GPU:
import tensorflow as tf
from tensorflow.python.client import device_lib

print("Num GPUs Available: ", len(tf.config.list_physical_devices('GPU')))
device_lib.list_local_devices()
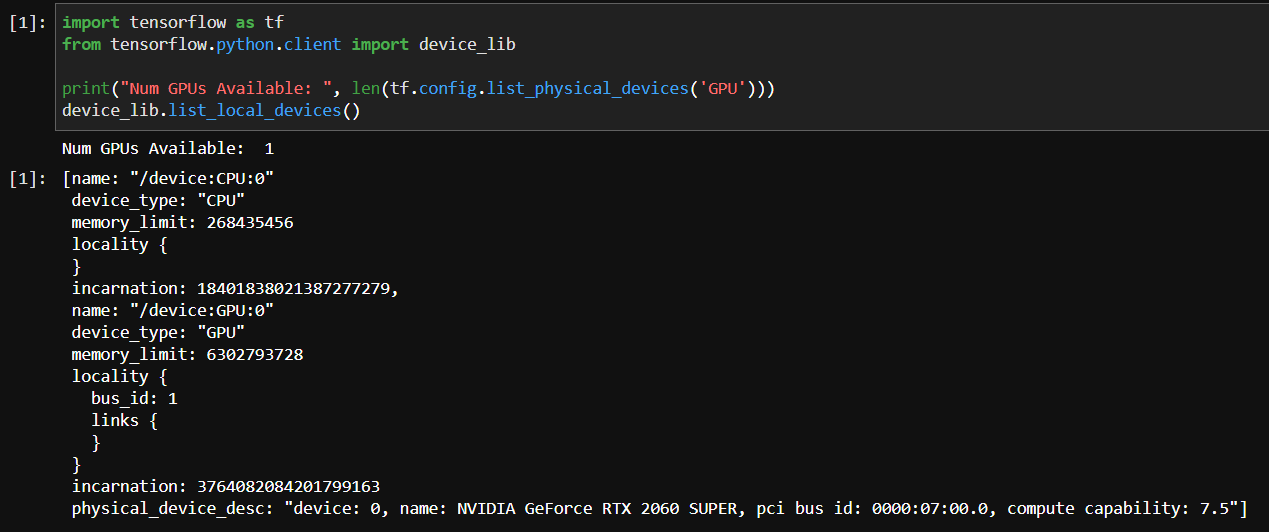
As the output says, I have a single GPU and at the end, it shows its name. If you have a similar output, then my job here is done!